In Jackrabbit, legal policies, or waivers, are easy to create and manage. The settings are located under the Gear icon > Settings > Policies. After you finish creating individual policies, they must be assigned to Policy Groups. Policy Groups are then assigned to classes.
Jackrabbit makes it simple and allows you to set up and create as many policies as you need for your business.
We recommend you speak to your insurance carrier or legal counsel to determine what policies are needed for your organization. In addition, it's best to update your legal policies at least once a year. Parents will be prompted to reagree to updated policies when they log in to their Parent Portal.
Create a Policy
- Go to the Gear (icon) > Settings > Policies (tab).
- Click Add New Policy (icon)
 to open a New Policy page.
- Enter a unique Policy Name.
- Add a brief description of the policy (optional).
- Create the content of the policy in the composition window.
- Click Save Changes. You will be returned to the Policies (tab), and the new policy is at the top of the grid.
- Move on to Create and Manage Policy Groups.

Save time and effort each time you open a Policies grid page to view your data! After you adjust and select your columns, save the grid as a Favorite.
Edit a Policy
There are a few ways you can edit or modify an existing policy.
- Go to the Gear (icon) > Settings > Policies (tab).
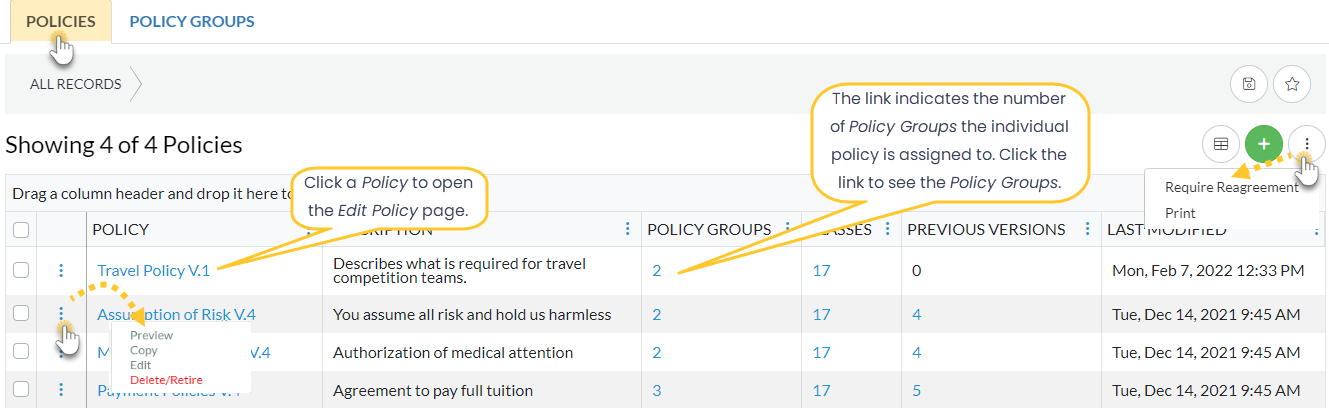
- Click the Policy name to open the Edit Policy page and modify the Policy, or click the row menu
 to take one of the following actions:
- Preview - opens a preview window of the individual policy. You can print the policy from here.
- Copy - select copy and an exact duplicate of the policy will be created and placed at the top of the grid.
- Edit - opens the Edit Policy window to make changes as needed.
- Jackrabbit checks to see if any parents have already agreed to the policy.
- If no parents have ever agreed to the policy, the edited version remains the CURRENT version.
- If any parents have agreed to the policy, the newly edited version becomes the CURRENT version. The previous version can be located in the Previous Versions column in the grid.
- Delete/Retire - you will be presented with either a Delete or Retire option.
The policy can be deleted if there are no family agreements related to the policy. 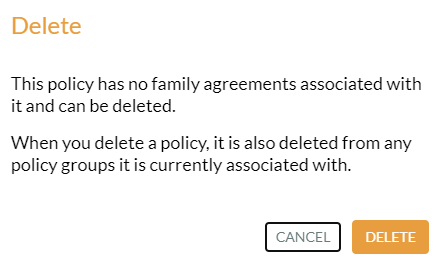
The policy must be retired rather than deleted if there are family agreements related to a policy. 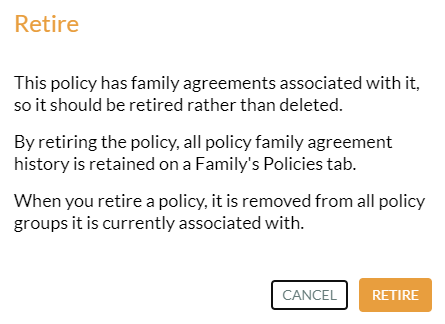
 to take one of the following actions:

Reagree to Policies in the Parent Portal
Families are automatically prompted to reagree in the Parent Portal each time you update a policy. However, there may be instances when you don't want to modify a policy, and you still need your families to reagree to them. Use the More icon to prompt a reagreement to policies.
- Go to the Gear (icon) > Settings > Policies (tab).
- Select the Policies you want to include or leave the 1st column unchecked to select all.
- Click the More
 (icon) and select Require Reagreement.
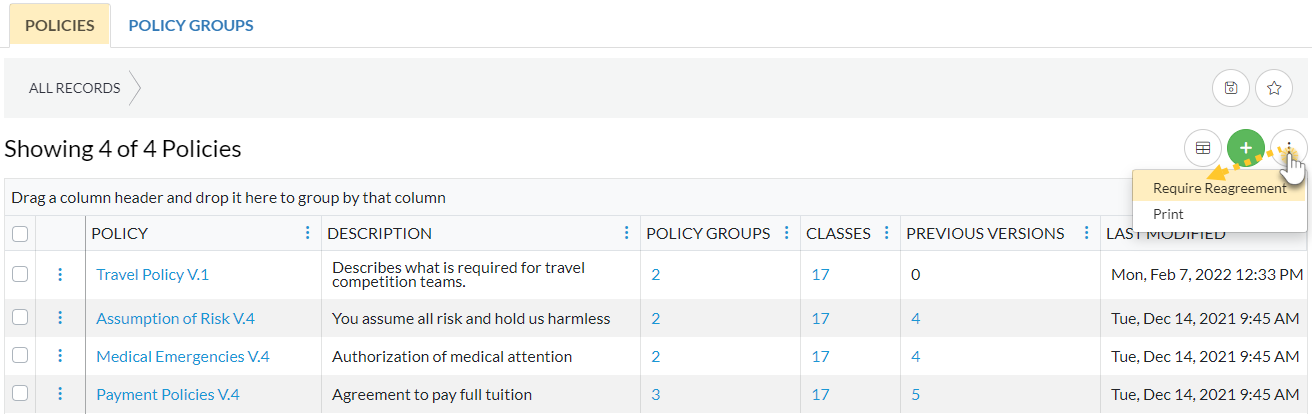
- Click the Require Reagreement button in the pop-up window. This will require families to reagree to the policies you selected the next time they log in to their Parent Portal.

Use the More![]() icon > Print to open a print dialogue box and print the Policy list. Be sure to check your printer settings so the entire page will fit. You may have to use a landscape layout and change the scale to fit the entire grid on the page.
icon > Print to open a print dialogue box and print the Policy list. Be sure to check your printer settings so the entire page will fit. You may have to use a landscape layout and change the scale to fit the entire grid on the page.