There are significant benefits to using ePayment schedules, including:
- Less manual work. You'll be able to process ePayments based on groups of families instead of handling families individually.
- Fewer mistakes. With the ability to target families by group, you are more likely to bill active families correctly - no accidental double postings.
- Easier tracking. Know how or when your families are paying to help you forecast revenue and ensure payments are received on time.
Located on the Family record Billing Info tab, the ePayment Schedule drop-down values can be used to define the payment options you offer to your clients. Examples are Autopay, Monthly, No Autopay, Prepaid, Self-pay, 1st of the month, 15th of the month, etc.
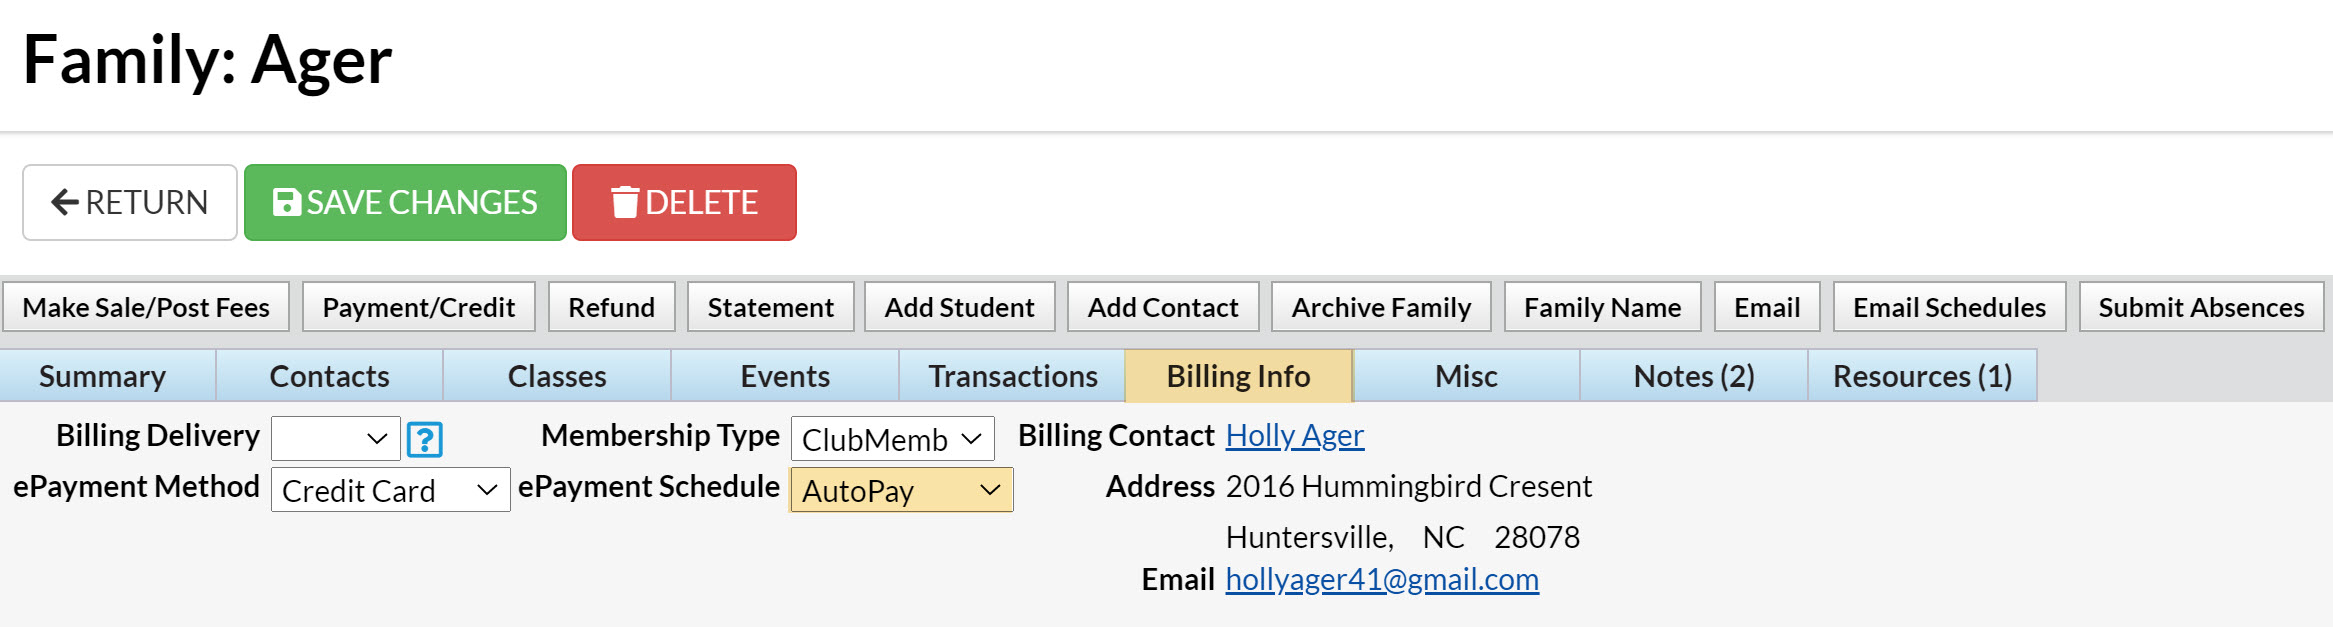
The ePayment Schedule drop-down value can be used to group families when posting tuition or when processing credit cards/bank accounts and can be made a required field for Online Registration. When offering ePayment options, this is a great way to capture and record your customers' payment preferences!
If you want families to have the option to change their preference, you can allow families to update the ePayment Schedule field in the Parent Portal. Refer to Set Up Your Parent Portal for more details.
If you plan to use an ePayment Schedule, ALL families should have a value selected for this field. This ensures all families you wish to include are captured when you post fees or process a batch of ePayments to a select group of families.
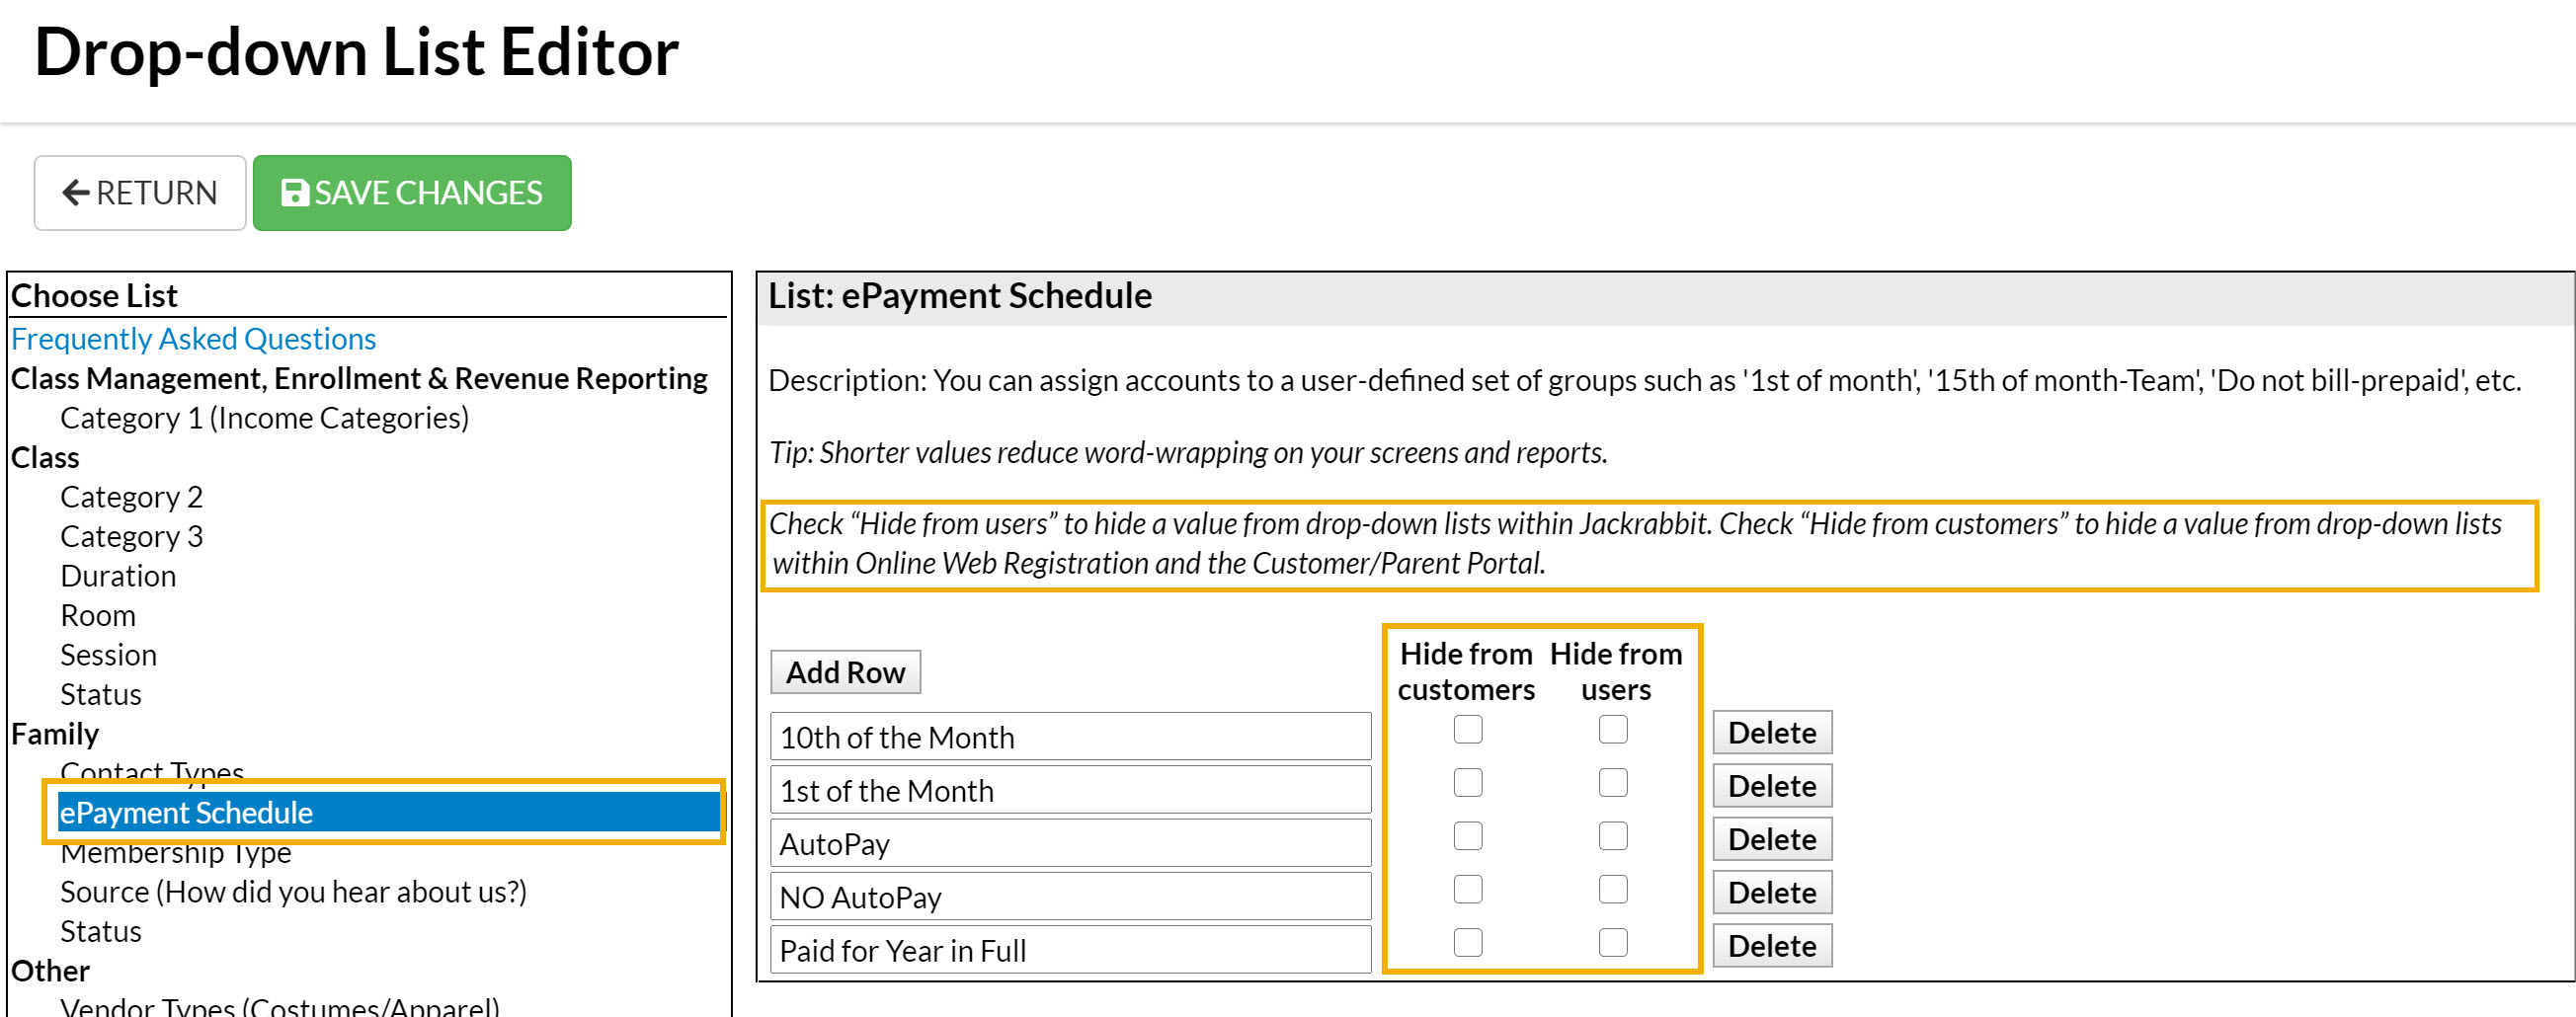
Create an ePayment Schedule Drop-down List
Go to the Gear (icon) > Settings > General > Drop-down List Editor (left menu) > Family > ePayment Schedule. Add rows as needed. You have the option to hide any of your ePayment Schedule drop-down list values from your customers with the Hide from customers checkbox (hides the value from your customers in Online Registration and Portal drop-down lists) or you can choose to hide a value in the drop-down lists within Jackrabbit using the Hide from users checkbox.
Update an ePayment Schedule from Families (menu)
- Go to the Families (menu) > All Families and filter as needed.
- Select all the families in the grid by leaving the 1st column checkboxes blank or check the 1st column checkboxes for the families you would like to update in a group.
- Click the More (icon)
 > ePayment Schedule.
 - Select the schedule from the drop-down list or use the toggle to remove any schedule for the families.
- Click Update. All selected families will have their ePayment schedule updated.