There are many ways your office or front desk staff can enroll a student in Jackrabbit. This flexibility allows you to choose the most efficient workflow for you and your staff!
The enrollment process can be initiated from several areas in Jackrabbit—via a Family or Student record, a Calendar link, the Quick Registration Form, or the All Students or All Classes menu. Regardless of where enrollment starts, it’s finalized in the Enrollment Details window.
Select a heading to expand the section and learn more.
Enroll from a Family or Student Record
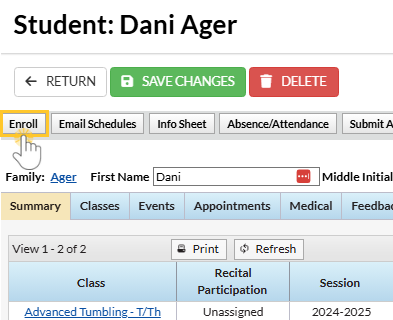
To enroll students from an Enroll link in the system, navigate to a Family record or Student record to start the enrollment process.
- From the Family record, go to the Summary tab and select Enroll to begin enrolling a student from that family.

- From the Student record, go to the Summary tab and select Enroll to enroll the selected student directly.


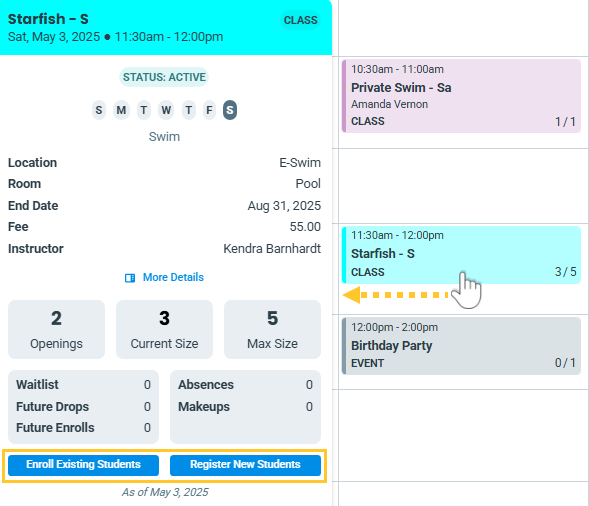
Enroll from a Calendar Link
To access the Activity Calendar, use the  Calendar link at the top right of all pages in Jackrabbit.
- Hover over any activity card and select Enroll Existing Students or Register New Students.

Enroll from the Quick Registration Form
The Quick Registration Form is accessible from two places in the Families menu.
- Families menu > Quick Registration
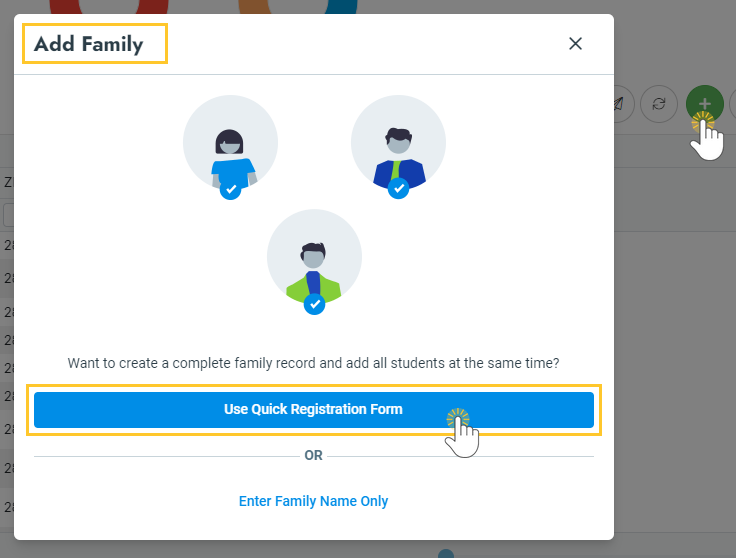
- Families menu > All Families > Select the Add New Family icon
 > Choose Use Quick Registration Form

Enroll from the All Students or All Classes Menu
Use the All Students or All Classes menu to enroll students.
- Students menu > All Students > Row Menu icon
 > Enroll

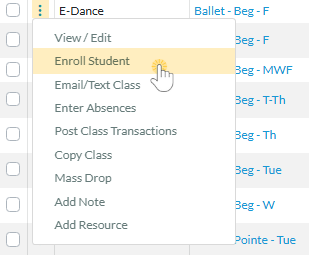
- Classes menu > All Classes > Row Menu icon
 > Enroll Student
 > Enroll

 > Enroll Student

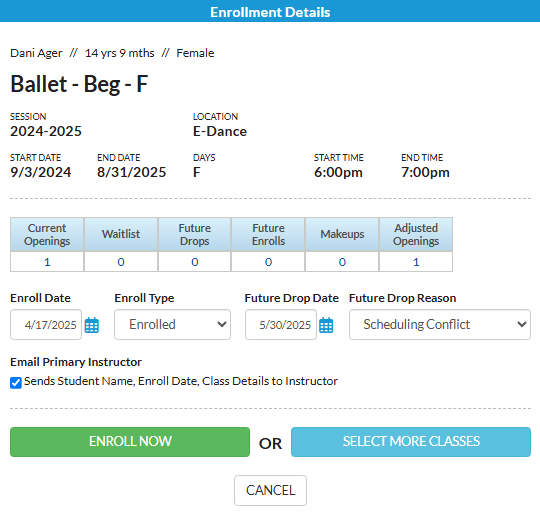
Finalize Enrollment from the Enrollment Details Window
Depending on where you initiate student enrollment, the process will vary slightly. After you have searched for the class or student and selected to Enroll the student, you will have a few options.
In the Enrollment Details window, you can:
- View additional class information (class name, session, location, start and end date, days of the week, start and end time, and openings).
- Adjust the Enroll Date if the student is enrolling for a future date. Note: This is only available if your system allows future enrollments.
- Change the Enroll Type e.g., if the student is enrolling as a trial.
- Add a Future Drop Date if you know the student will need to drop before the class end date.
- Select a Future Drop Reason if applicable.
- Click Enroll Now if you are ready to process enrollment for just one class or student.
- Click Select More Classes if you would like to enroll the student into more than one class at once.

After completing the class and student selection, you can finish the enrollment process with posting fees. See Post Tuition Fees During Enrollment in Jackrabbit for more details.
Frequently Asked Questions
Q. What are Adjusted Openings, and how are they calculated?
A. Adjusted openings are shown in the class search pages when enrolling or transferring students from within your system. They are displayed for informational purposes only. The number does not control if a student can enroll in a class.
The calculation of Adjusted Openings in a class takes into account the following:
- Class max size
- Currently enrolled students
- Future enrolls
- Future drops
- Makeups
- Waitlist
Adjusted openings = Class max size - Currently enrolled students (size) - Future enrolls + Future drops - Makeups - Waitlist

Each class in the above screenshot has one current opening. The calculations for the Adjusted Openings on each class are:
- Advanced Tumbling - M/W > 10 (Max Size) - 3 (Size) - 1 (Makeup) = 6 Adjusted Openings
- Allstars Youth > 8 (Max Size) - 5 (Size) = 3 Adjusted Openings
- Ballet - Beg - F > 8 (Max Size) - 7 (Size) = 1 Adjusted Openings
- Ballet - Beg - T-Th > 10 (Max Size) - 6 (Size) - 2 (Future Enrolls) = 2 Adjusted Openings