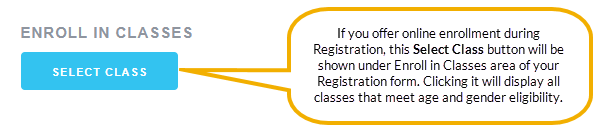
If you allow enrollment during registration and choose not to use the class listings tables, families will use the 'Enroll In Classes' section within the Online Registration Form to add classes. The Select Class button allows them to view and select a class. If they wish to register for multiple classes, they can use the Select Another Class button.
If you allow enrollment during registration and your customer selects their first class from your Class Listings Tables, the Online Registration Form will open up and pre-fill the information for the selected class. If they wish to register for more classes, they can use the Select Another Class button, which will open the Class Search page.
If you have Age or Gender filters turned on, classes that meet the student's age plus gender and classes with no age or gender defined will be available in the Class Search.
Let's take a closer look at the Class Search page that is inside the Online Registration Form:
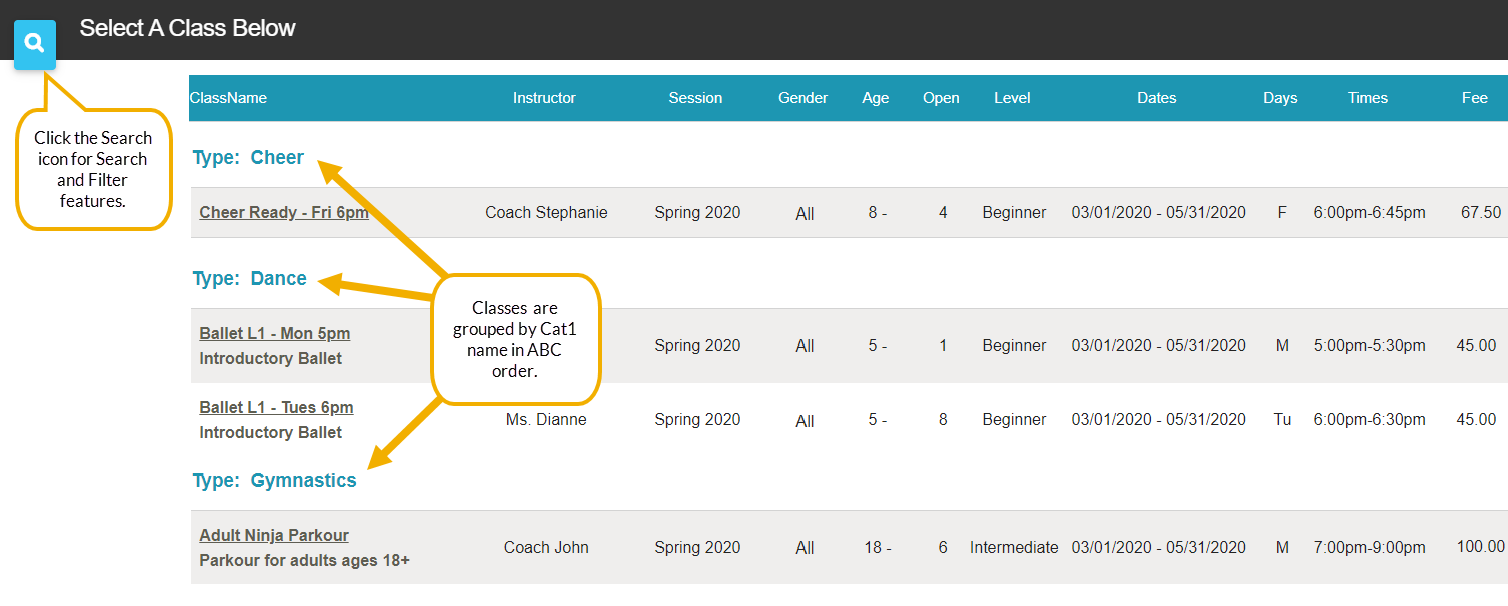
There is not a way to remove the Category 1 headers or re-arrange their order. Note: The Gender column will not display when the Hide Gender setting in Organization Defaults is set to Yes.
Filters and Searches
By clicking the Magnifying Glass icon in the upper left corner, the customer can search on the Class Name or narrow down the list of classes shown using any of the filters given. The filters are:
- Class Name
- Location (only if have multiple locations in your system)
- Session
- Instructor
- Day
- Cat1, Cat2, and Cat3.
For filter drop-downs to function correctly, all classes must have a Cat1 assigned.

Hide Categories
Perhaps you have some Categories that are not applicable to online class registration, such as "Costume Fee". To prevent a specific Category name from appearing in the drop-down list, go to the Gear (icon) > Settings > General > Drop-down Lists (left menu) > Category 1 (or 2 or 3), and select Hide from customers next to the value(s). Those marked as Hide from customers will no longer appear in the filter drop-down lists.
Sort Order
Classes are shown grouped (sorted going down the page) first by Category 1 in ABC order, then within each Category 1 by Class name in ABC order. The description text will appear underneath the Class name. This is hardcoded and can not be changed or altered.
Waitlists
To allow students to get on the Waitlist for classes that are full, enable Allow Waitlist when Class Full on the Settings page. This will allow full classes to display in the list of available classes with "Waitlist" in the Openings column. If a student uses the online Waitlist link, it will simply place him or her on the Waitlist in your system.
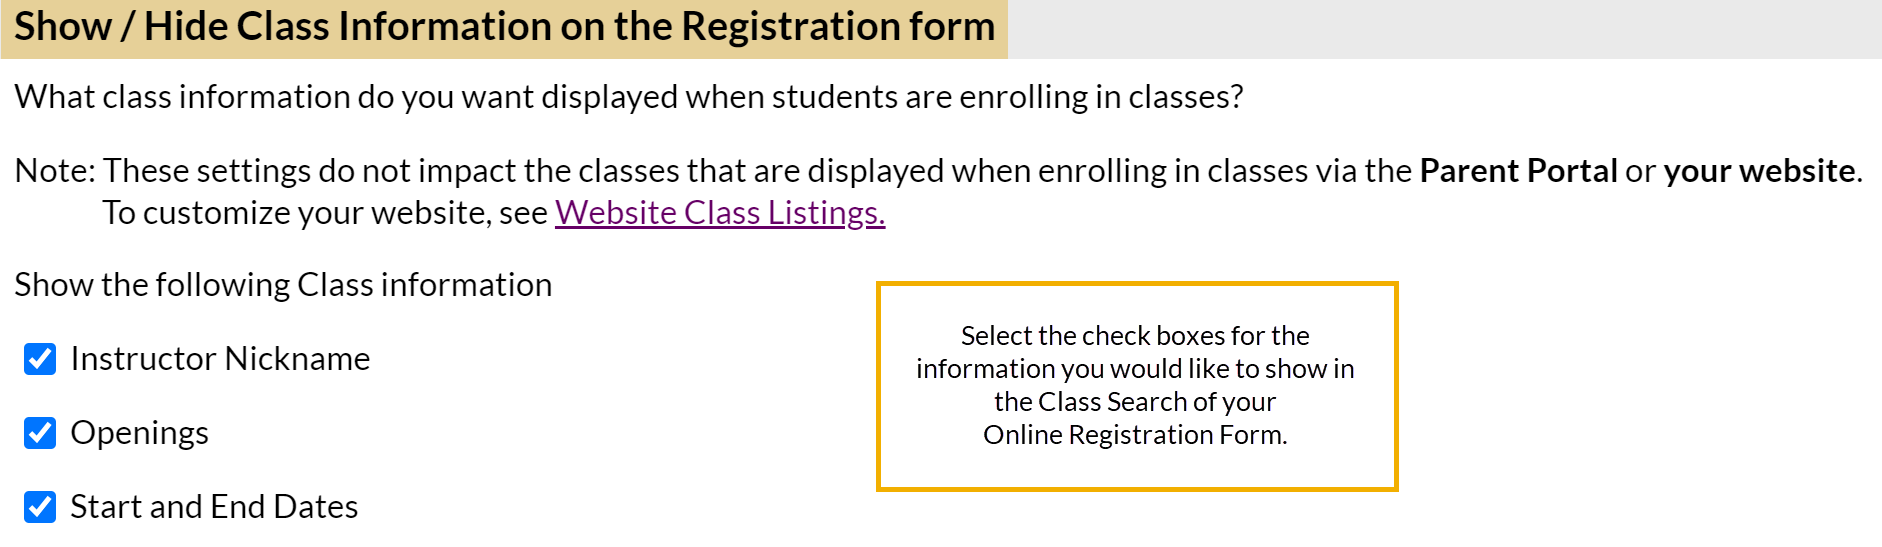
Hiding Columns
You have the option to hide Instructor, Openings, and Start/End date columns from the Online Registration Settings section.
If there are other columns you would like to hide, this is possible but requires custom coding. Our integration team is happy to help you with this.
Classes available for enrollment in the Online Registration Class Search page
If you do not want to allow your new customers to enroll themselves into specific classes, make sure you have Class Enrollment set to Hidden on your Online Registration Settings page.
If you do want to allow new customers to choose and enroll in classes, set Class Enrollment to either Optional or Required. Ensure classes meet the criteria for being available for online enrollment. Each class should have the following completed, at a minimum, on the Class record > Summary tab in your system in order to be shown on the above search page.
- Status = can be any except Completed, Archived, or Inactive.
- Allow Online Registration = Yes (so class will show in the Online Registration form Class Search)
- Display on Website = Yes (if you are using a Class Listings Table)
- Registration Start Date is the day you want to open online enrollment. If left blank, it is opened immediately. If future dated, the class will not show up in the Online Registration class search or the Parent Portal for selection until that date. Also, the live Register link will not display in the listing table until that date arrives.
Use Edit All Classes to quickly update a large group of classes. This is extremely helpful when you need to turn classes on or off for Online Registration.