Before you create vendors, Add Drop-down Values for - Vendor Types (Costumes/Apparel) and Student Sizes.
Create a Vendor
Enter the vendors your organization typically uses here.
- Go to the Classes (menu) > Costume Management.
- Select Add Vendor to add a new vendor.
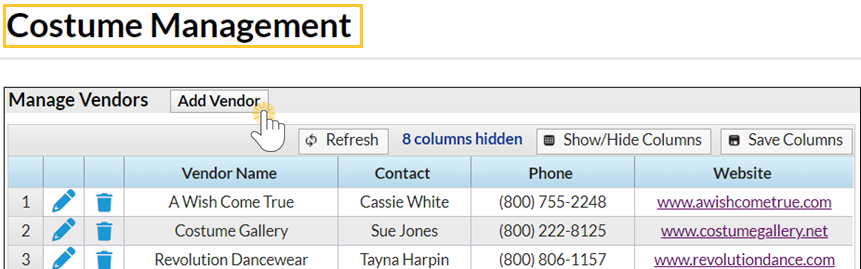
- Enter the vendor details In the Add Vendor window. To modify the drop-down selections for Type, go to Gear (icon) > Settings > General > Drop-down Lists (left menu) > Vendor Types (Costume/Apparel).
- Click Save.


Create Vendor Size Charts
After creating each vendor, add size charts for each vendor's specific sizing standards. Multiple size charts may be created for each vendor as needed.
- Go to the Classes (menu) > Costume Management.
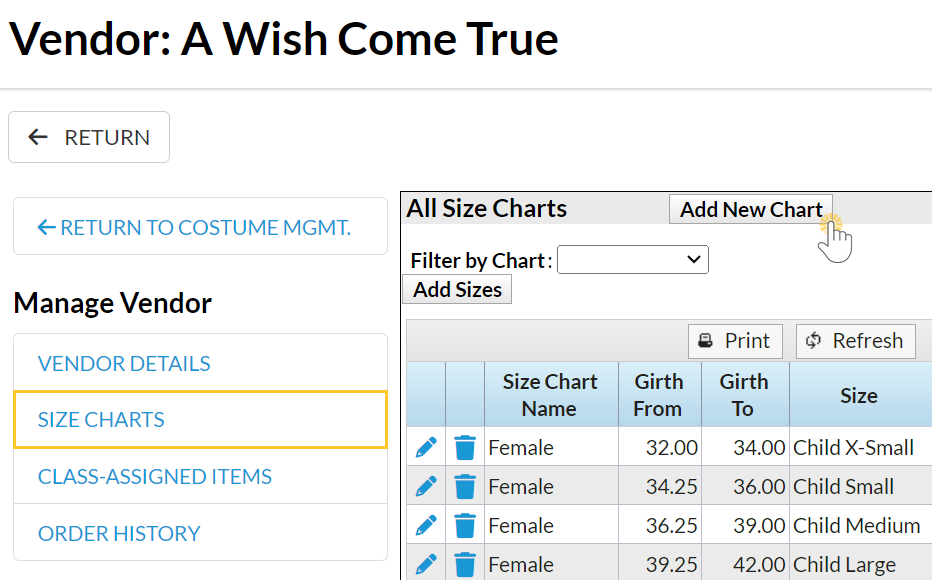
- Use the Pencil icon next to the vendor to access the Manage Vendor (left menu).

- Select Size Charts (left menu).
- Click the Add New Chart button.
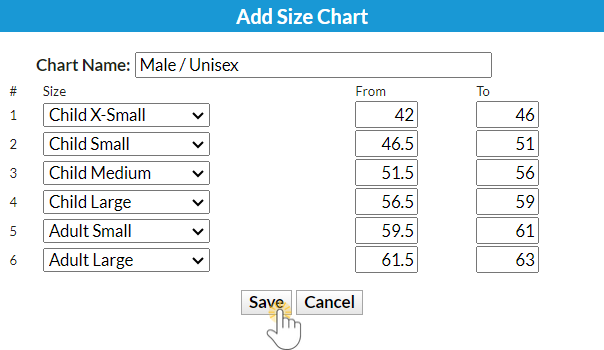
- Enter a Chart Name for the size chart.
- Using the vendor's size chart, enter sizes & girth measurements. Size names (Example: Child X-Small) are created in Gear (icon) > Settings > General > Drop-down Lists (left menu) > Student > Sizes. See Add Student Sizes.
- Click Save.


Working with a Vendor Size Chart
Once you have created size charts for a vendor, you can edit, delete, or add size charts or individual size entries.
- To add more sizes, select the Add Sizes (button).
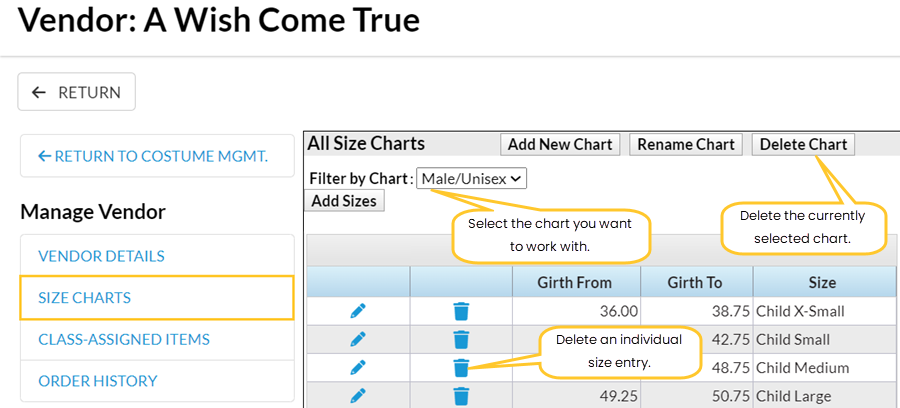
- Delete an individual size with the Trash can (icon).
- Use the Filter by Chart drop-down list to select the chart you want to work with.
- Delete the size chart by selecting the chart to be deleted in the Filter by Chart drop-down list and then clicking the Delete Chart (button).